
Trail Camera Tips for Deer: Placement and Strategy
Where2Hunt staff · Updated Oct 29, 2026
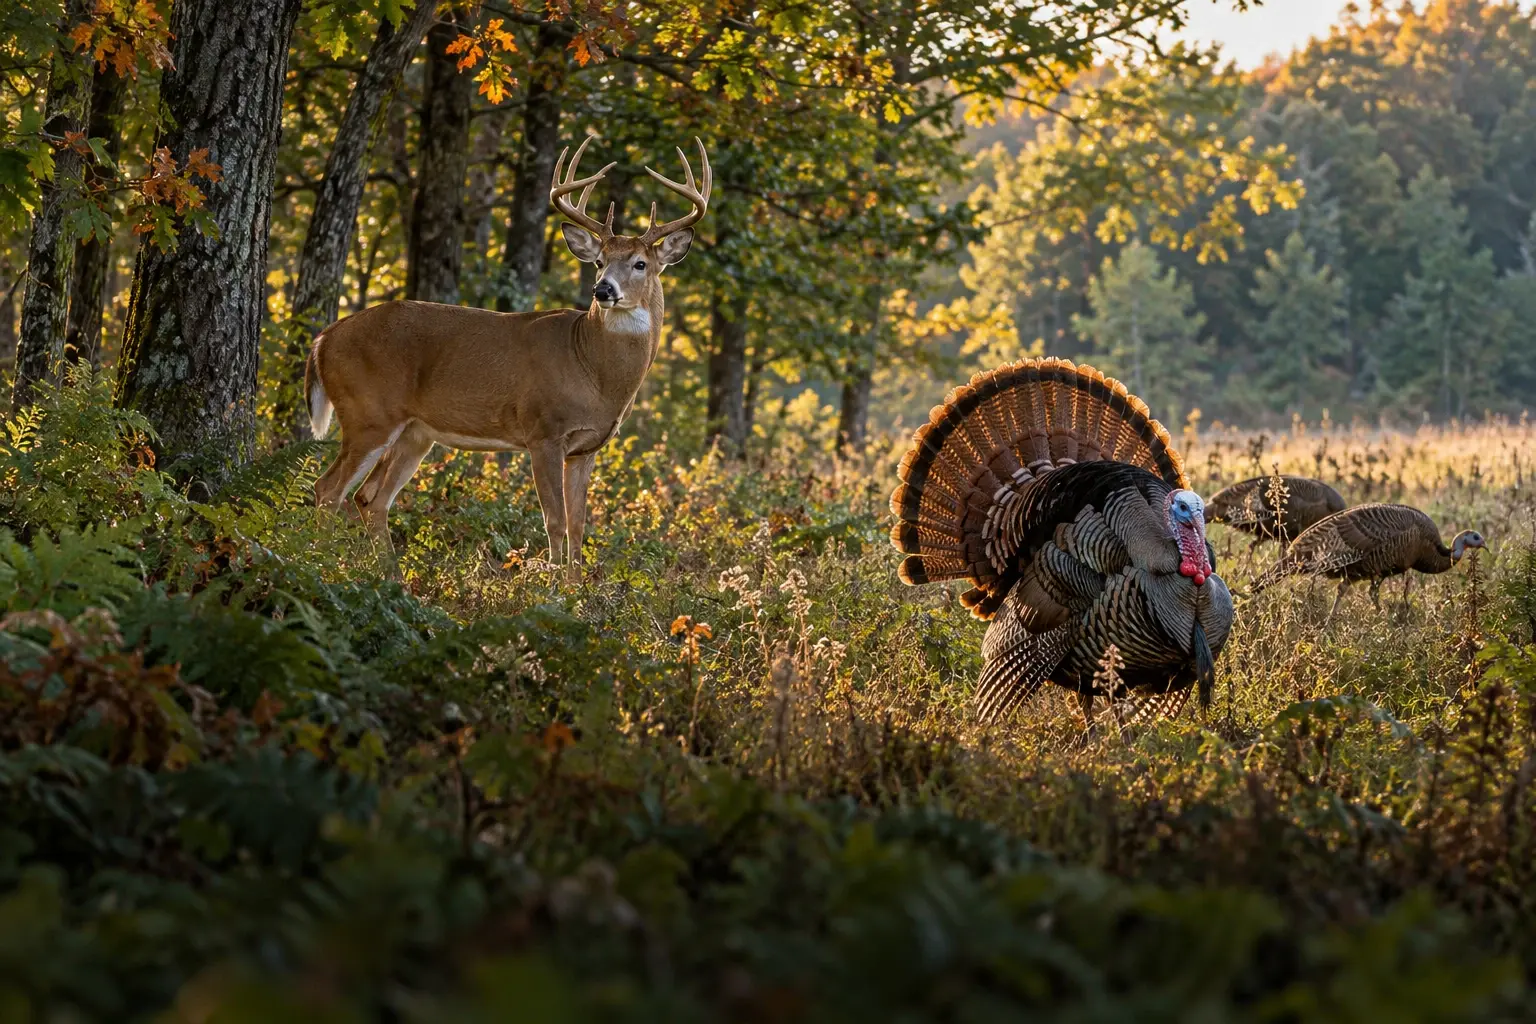
Trail camera tips for deer: where to place cameras, how to adjust by season, cellular versus SD cameras, how often to check, and how to read patterns.
The most useful trail camera tips for deer come down to three things: put cameras where deer naturally concentrate, move them as the season changes, and check them in a way that does not add pressure. Scrapes, well-used trails, food sources, water and pinch points are the best starting spots. Cellular cameras cut down on trips into the woods, while SD card cameras cost less and work where there is no signal.
Where to put trail cameras for deer
Deer funnel through the same features again and again. Good camera spots include:
- Scrapes. Active scrapes, especially under an overhanging licking branch, are visited by many different bucks during fall. They are among the best places to inventory the deer in an area.
- Trails. Look for well-worn trails between bedding and food. Trails with fresh tracks and droppings tell you deer are using them now.
- Food sources. Food plots, ag field edges, oak flats dropping acorns and fruit trees attract deer in daylight more than most places.
- Water. In dry weather, ponds, creek crossings and water holes can be hotspots.
- Pinch points. Inside field corners, saddles, creek crossings, fence gaps and narrow strips of cover concentrate movement.
How you mount the camera matters too. Most hunters set cameras roughly waist high and angle them slightly down toward the spot deer will pass. Aim the camera at an angle to a trail rather than straight across it, so the camera has time to trigger before the deer walks out of frame. Avoid pointing cameras straight into the rising or setting sun, which causes washed-out photos and false triggers. Clear weeds and small branches in front of the lens, since moving vegetation fills your card with empty pictures. Take a test photo or walk in front of the camera to check the angle before you leave.
A seasonal trail camera strategy
Deer change their patterns through the year, so your cameras should move with them.
Summer
Summer is inventory season. Bucks often travel in bachelor groups and feed in predictable spots, making food plots, field edges and mineral sites (where legal) good places to see antler growth and get a sense of the herd.
Early fall
As crops are harvested and acorns drop, deer shift to new food. Watch oak flats and fall plots, and pay attention to the trails between food and bedding. Daylight photos in this period can point to good early-season stand sites.
Pre-rut and rut
When scrapes and rubs show up, move cameras to scrape lines, travel corridors and pinch points between doe bedding areas. Bucks cover more ground and show up in places you have not seen them before. Video mode can be helpful for seeing how deer behave and which way they are traveling. Our guide to understanding the whitetail rut explains how behavior changes from one phase to the next.
Late season
After the rut, deer focus on food and recovery. Cameras on late-season food sources, such as standing grain, brassicas or cereal plots, show which bucks survived and where deer are feeding in cold weather.
Cellular versus SD card trail cameras
Cellular cameras send photos to your phone through a cell network. The big advantage is that you can monitor an area without walking in to pull a card, which cuts down on scent and disturbance. You also see activity in near real time, which helps you decide when to hunt a stand. The trade-offs are higher upfront cost, a data plan, the need for decent cell coverage at the camera site, and higher power use. Many hunters add external batteries or solar panels.
SD card cameras are cheaper, work anywhere, and often take good quality photos for the price. The downside is that every check means a trip to the camera, and you only learn what happened after the fact.
Many hunters use a mix: cellular cameras in sensitive spots near bedding or on key stands, and SD cameras in easy-to-reach places like field edges. Theft is a real issue in some areas, so consider security boxes, cable locks and placing cameras above eye level, angled down.
How often to check cameras without adding pressure
Every trip to a camera leaves scent and can bump deer. A few habits keep that intrusion low:
- Check cameras in the middle of the day, when deer are more likely to be bedded.
- Approach with the wind in your favor and use the same routes you would use to hunt.
- Wear rubber boots and keep your hands off the vegetation around the camera.
- Go in just before rain when possible, so it can wash away scent.
- Place SD cameras where you can reach them quickly, like field edges you can drive to.
- Stretch time between checks, especially for cameras near bedding cover.
As a rule, the closer a camera is to where deer bed, the less often you should go in. Cellular cameras are the best tool for those sensitive locations.
Reading the patterns in your photos
Trail camera photos are most valuable when you look at them as data, not just pictures. A few things to track:
- Time of day. Daylight photos tell you where to hunt. Night-only photos of a buck often mean he beds nearby but is not moving in daylight there yet.
- Direction of travel. Note whether deer are heading toward food or bedding. That tells you whether a spot is better for a morning or evening hunt.
- Weather and wind. Over time you may see that certain deer show up in particular conditions.
- Individual deer. Learn to recognize bucks by antler shape, body features and scars, and track when and where each one appears.
- The whole herd. Doe, fawn and buck numbers help you think about herd health and harvest decisions.
Many hunters keep a simple log or spreadsheet with date, time, camera, deer and conditions. After a season or two, patterns emerge that are hard to see one photo at a time. Use those patterns to fine-tune where you hang stands, and our guide on where to put a deer stand can help you turn camera data into a setup. More general deer behavior is covered in our whitetail species guide.
Remember that cameras show only what passes in front of them. A lack of photos does not mean deer are not there, and one daylight photo does not make a pattern.
Trail camera rules on public land and leased ground
Trail camera rules vary by state and by land type. Some states restrict or ban trail cameras on public land, some limit cameras that transmit images during hunting season, and some require cameras on public land to be labeled with the owner's information or removed after a certain time. Rules for wildlife management areas can differ from national forest or other federal ground. Always check current rules with the state wildlife agency and the land manager before you set a camera.
If you are hunting public hunting land, also expect that other hunters may see, move or take your cameras. On leased ground, ask the landowner before putting up cameras, and agree on where they can go and who can check them. Where2Hunt lists leases and day access where you can ask about camera rules up front.
Frequently asked questions
Where is the best place to put a trail camera for deer?
Active scrapes, well-used trails between bedding and food, food sources and pinch points are generally the best places. Scrapes are especially good in fall because many different bucks visit them. Move cameras as deer shift food sources and behavior through the season.
How high should a trail camera be?
Many hunters mount cameras around waist high and angle them slightly downward. Mounting higher and angling down can reduce theft and make deer less likely to notice the camera. Always take a test photo to make sure the angle covers the spot you want.
How often should you check trail cameras?
As rarely as you can while still getting useful information. Check during midday, play the wind, and limit visits to cameras near bedding. Cellular cameras let you watch sensitive areas without going in at all.
Are trail cameras legal on public land?
It depends on the state and the land manager. Some states restrict or ban trail cameras on public land or limit cellular cameras during hunting season, and some require cameras to be labeled. Check current regulations with your state wildlife agency before setting cameras on public ground.
General information, not legal advice. Hunting laws vary by state and change every year; confirm with the state wildlife agency. See an error? Tell us.